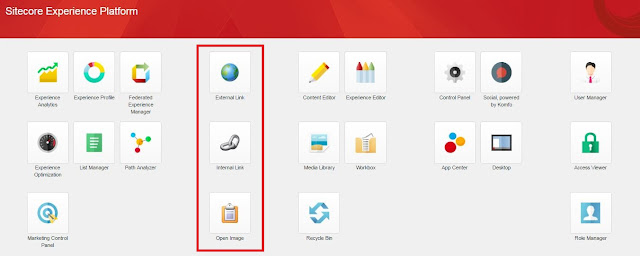
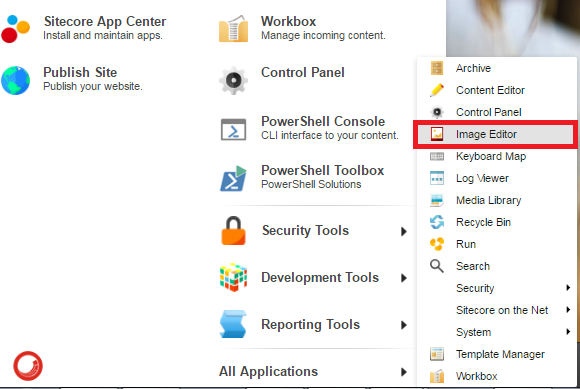
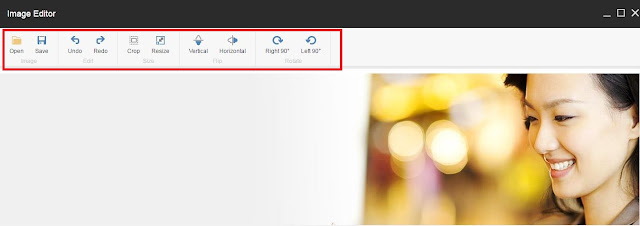
This article is about adding task link and option in Sitecore
control panel.
Here are quick steps
- Login to Sitecore Desktop mode.
- Select CORE Database
- Open Content Editor
- Add a new task page “My Task Page” under item “/sitecore/content/Applications/Control Panel” which is inherited from “/sitecore/templates/Sitecore Client/Tasks/Task page”.
o
Task page has two fields
§ Header
– Enter text of Task page section
§ Icon
– Specify path of icon image
- You can add Task Link and Task Option under Task page.
- Add a new task link “My Task Link” under item “/sitecore/content/Applications/Control Panel/My Task page” which is inherited from “/sitecore/templates/Sitecore Client/Tasks/Task link”.
o
Task Link has three fields
§ Click
– Specify verb name
§ Header
– Enter text of Task link section
§ Icon
– Specify path of icon image
- Add a new Task Option “My Task Option” under item “/sitecore/content/Applications/Control Panel/My Task page” which is inherited from “/sitecore/templates/Sitecore Client/Tasks/Task option”.
o
Task Link has four fields
§ Click
– Specify verb name
§ Header
– Enter text of Task link section
§ ID –
Specified ID of this task option
§ URL
– Specify link
I added 2 items under task page for testing as
 |
| Task Page |
and that’s it.
So after adding task link and task option, my Sitecore Control
Panel looks as
 |
| Control Panel |
As you can notice, there is vacant space in My Task Page region.
So to remove this, I just move down “My Task Page” under “Reports” item in CORE
database content tree.
By moving position of an item, my Sitecore Control Panel looks much better now
as
 |
| Updated Control Panel |
I hope you like this quick Sitecore lesson. Stay tuned
for more Sitecore related articles.
Till that happy
sitecoring :)


